I am so excited about my 5k cloud account that I just received from Oracle as one of the benefits for my Ace Pro status. I will be blogging along the way as I try to make my hands dirty.
Today I created compartments and created a VCN followed by custom subnet and custom security lists. I tried spinning compute instances and troubleshooted around login issues. Along with this, played around CIDR ranges scale up and down at VCN and subnet level.
I searched Compartments and Click on it. Then Clicked on Create Compartments and followed below screenshots


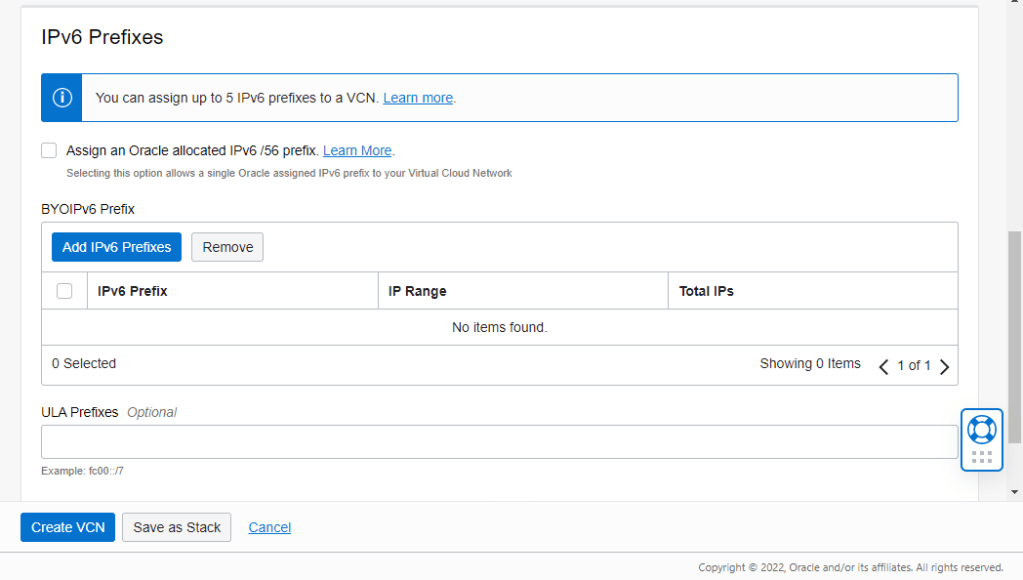
Go to Networking – > VNC -> Create VCN
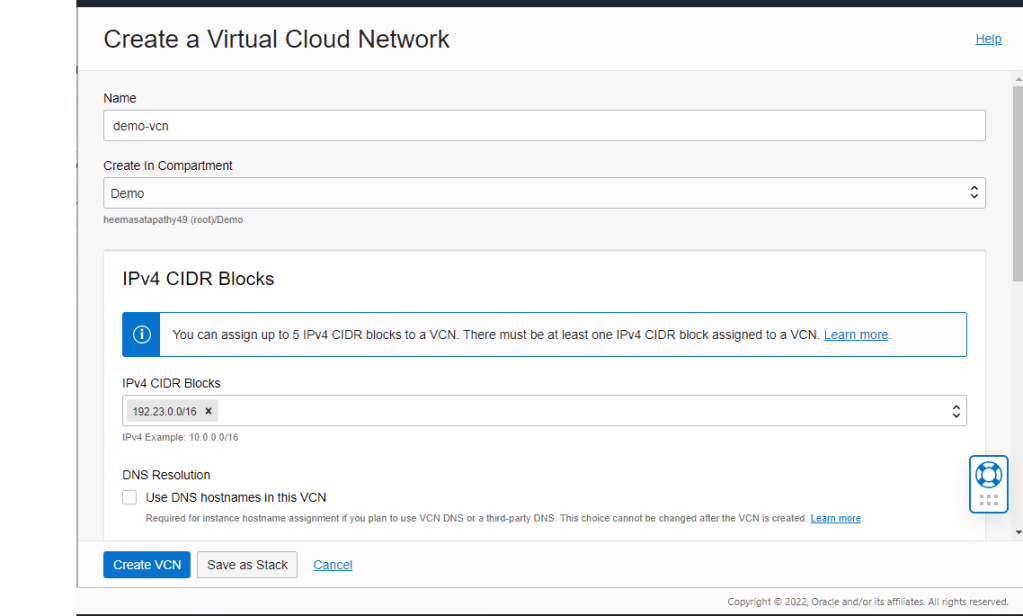
Note: I tried to pickup a unique series (not 10.0.0.0/16)
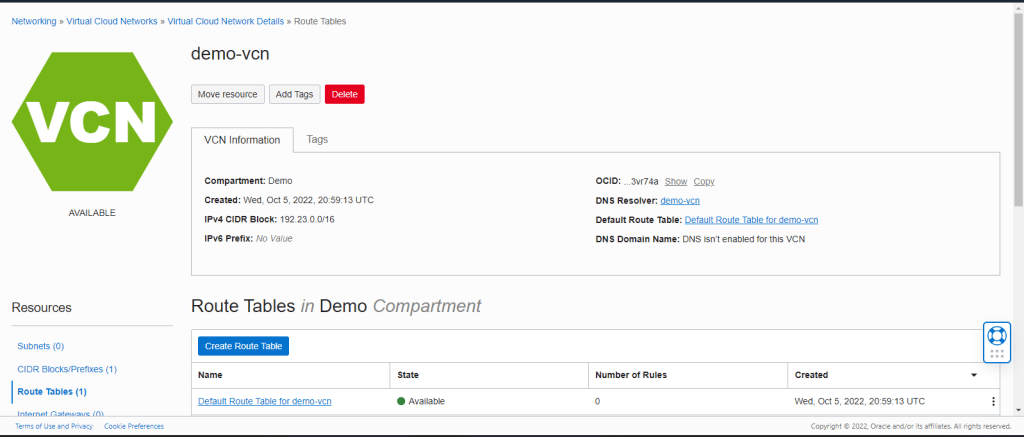
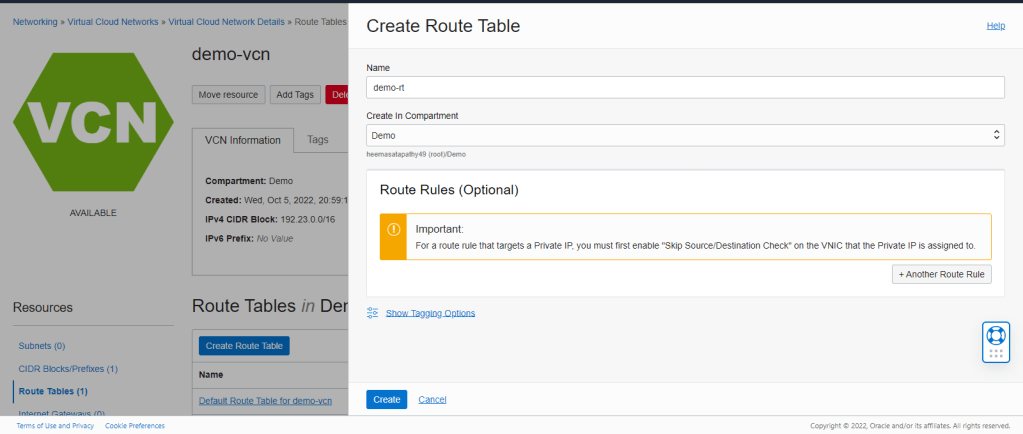
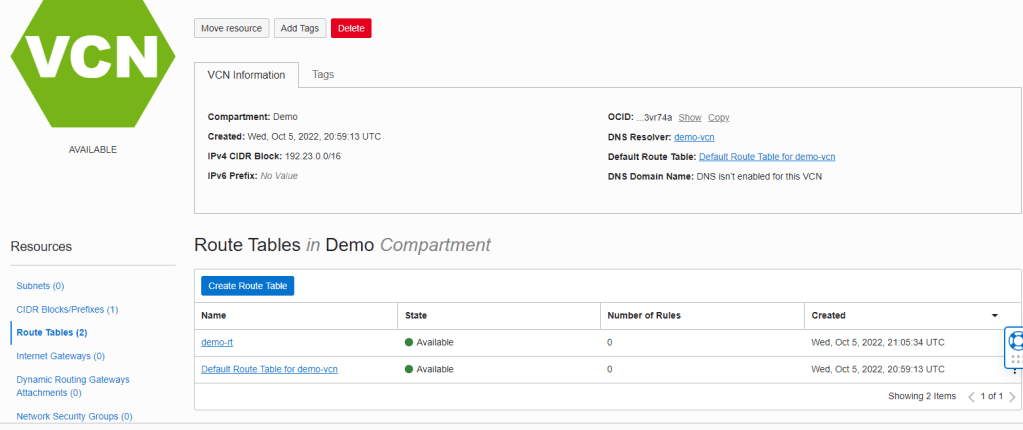
Now, let us go into VNC and create route table. We can add route rules later
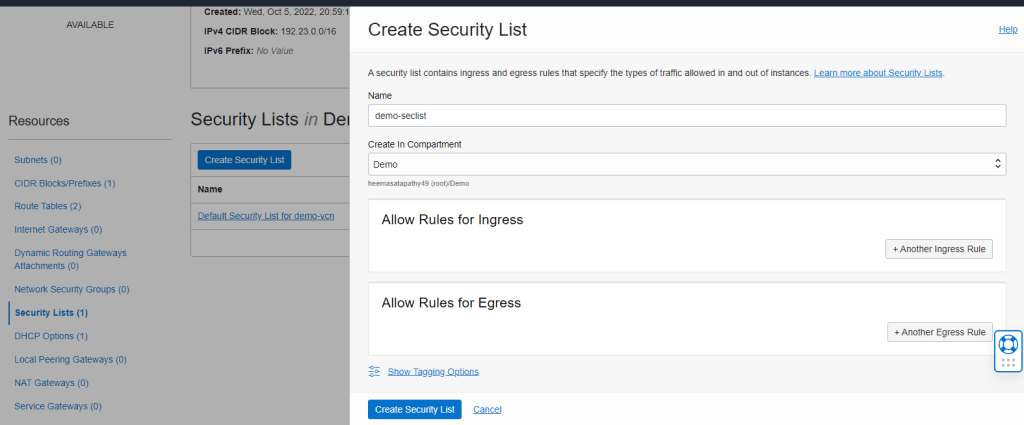
Now create a new security list. Please create ingress and egress rules matching the default security list that came with VCN.

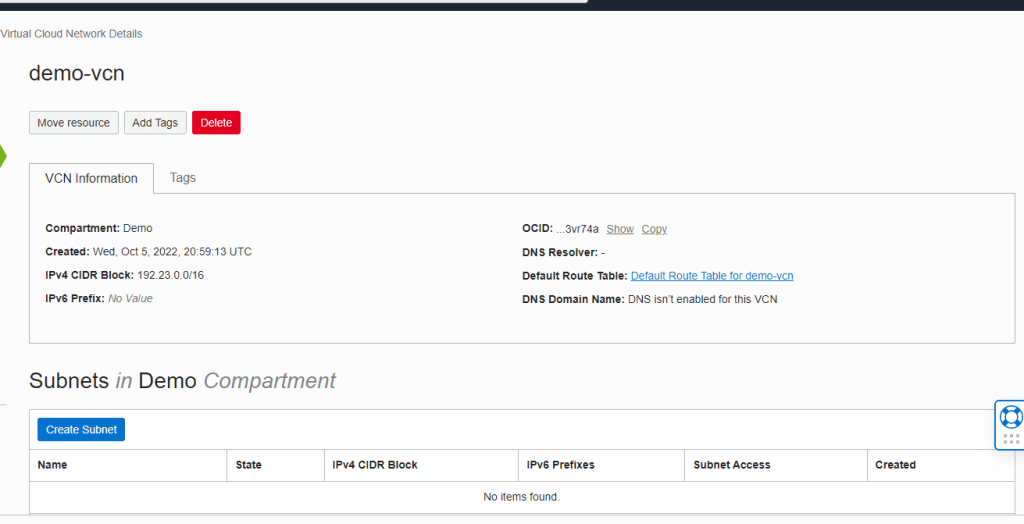
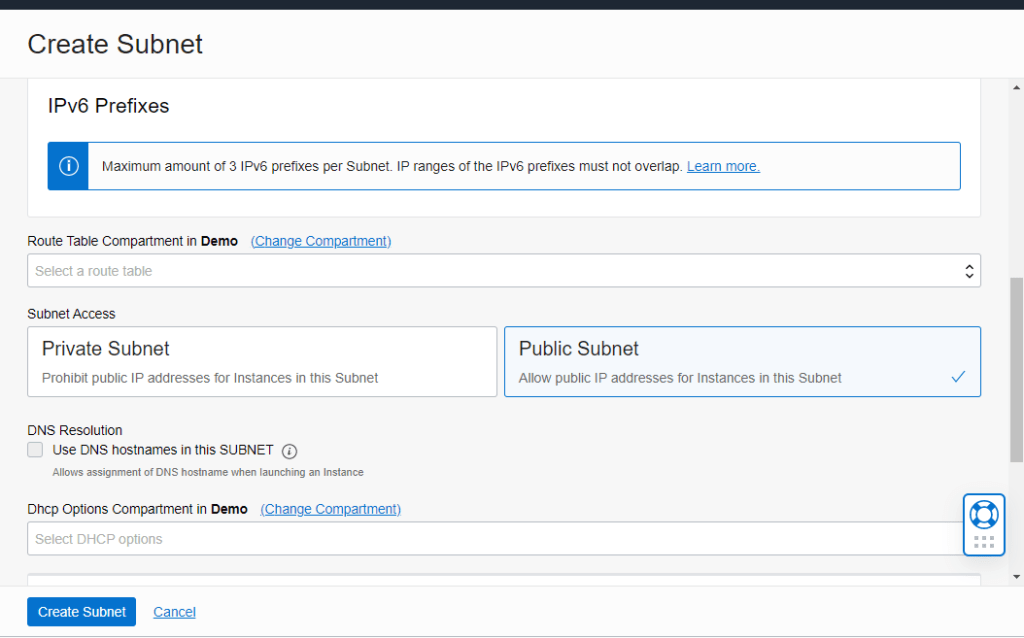
Let us create a subnet

Here if I give lesser than “/16” it will say Invalid CIDR as VCN CIDR is 19.23.0.0/16.
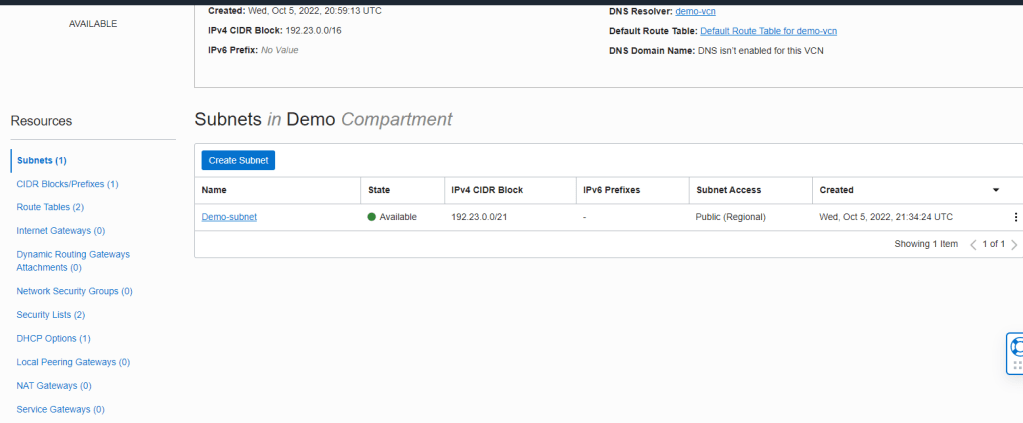
I later dropped the above subnet after playing with editing CIDR range of subnet and VCN.
You can edit “/16” to “/18” under CIDR Blocks/Prefixes and check how no of available IP addresses changes. VCN will be in updating status when updating. Similarly you can play around with CIDR range change of each subnet. Incase a combination would not work, it would say “Invalid CIDR”. Remember CIDR of each subnet should be a portion(subnet) of VCN CIDR. Once I spin off instances, I want to see if we are yet able to scale up/down CIDR range.
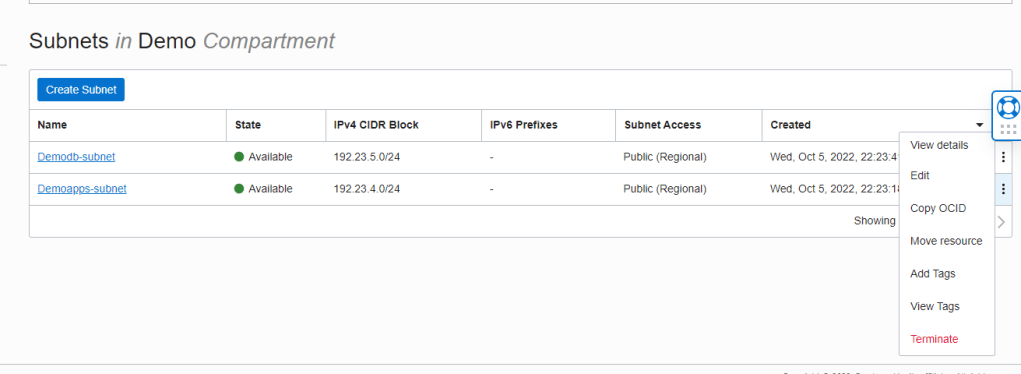
Later, created “2” new subnets as below

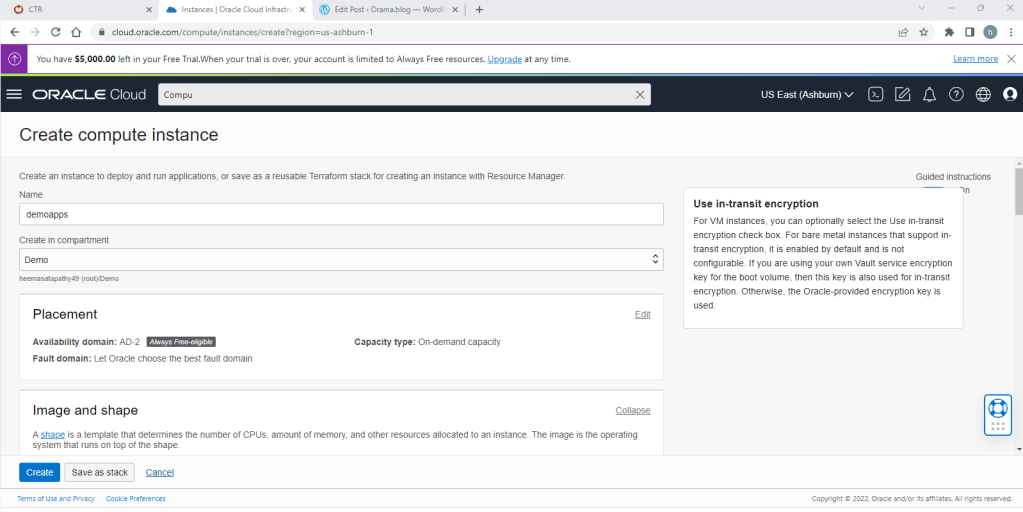
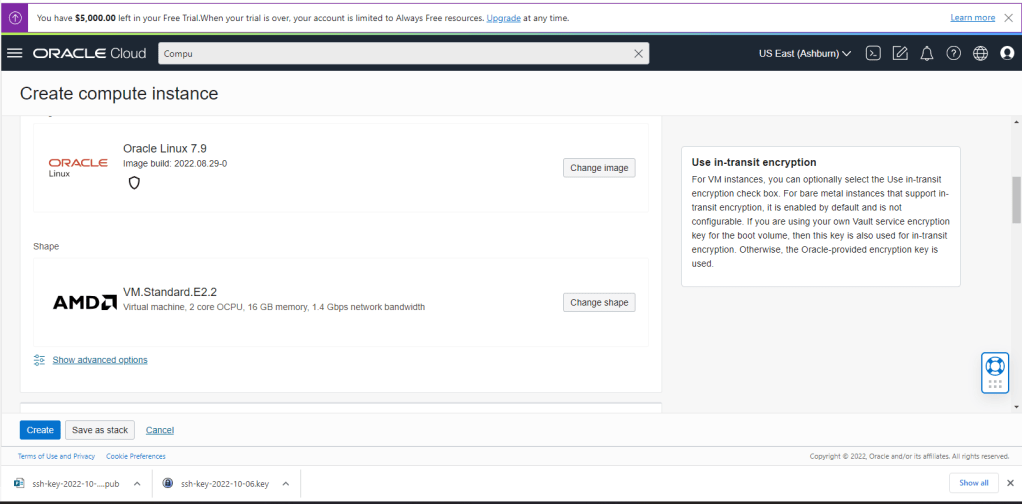
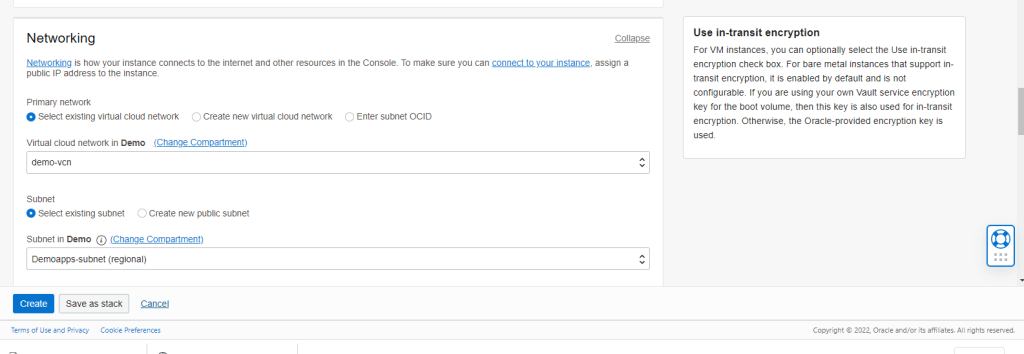
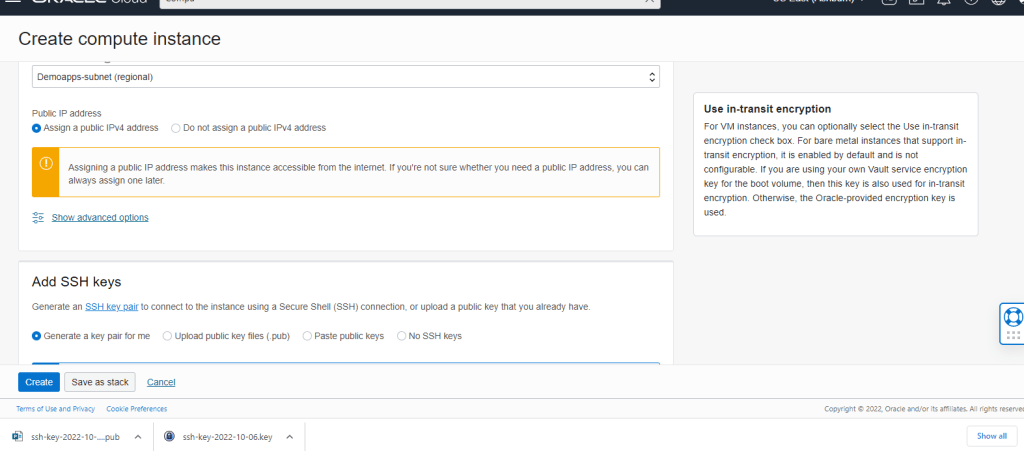
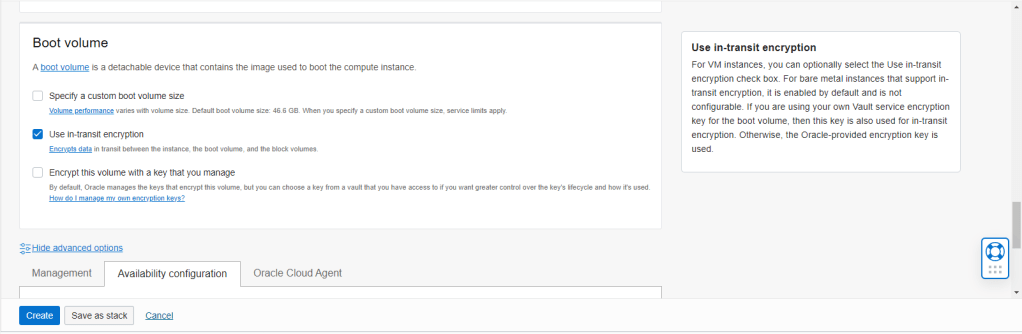
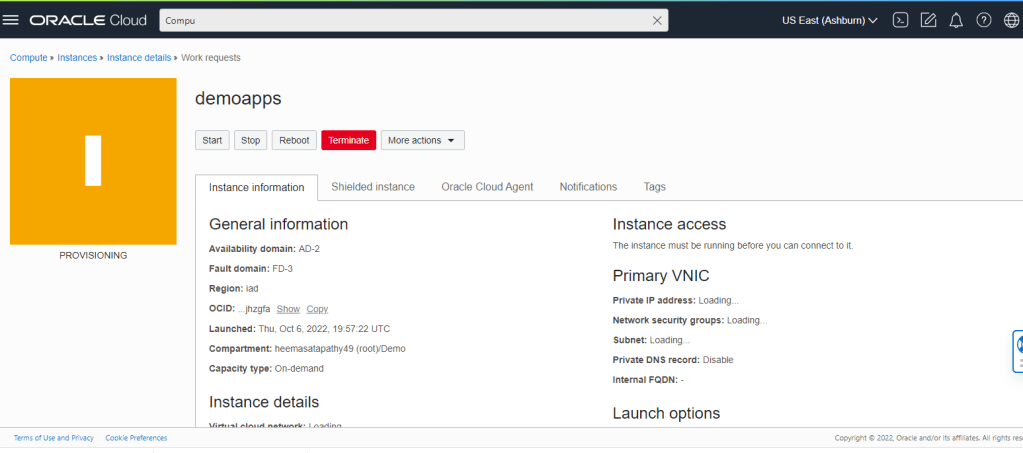
Now I will try to create a compute VM and assign to demoapps-subnet

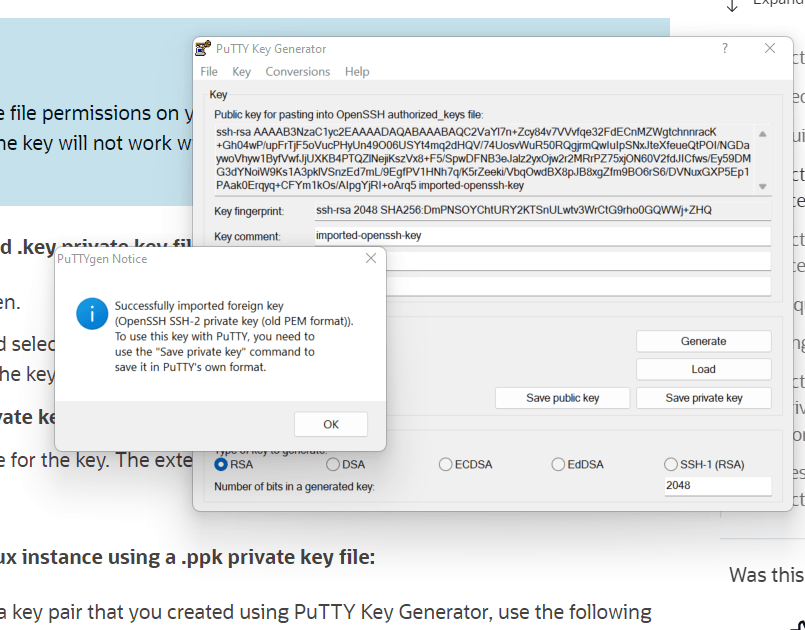
After instance was created, I converted the downloaded private key into putty accessible format (i.e. *.ppk) using puttygen. From file – > load private key and save private key(this saves as *.ppk)
Convert a generated .key private key file:
- Open PuTTYgen.
- Click Load, and select the private key generated when you created the instance. The extension for the key file is
.key. - Click Save private key.
- Specify a name for the key. The extension for new private key is
.ppk. - Click Save.
From putty
- Open PuTTY.
- In the Category pane, select Session and enter the following:
- Host Name (or IP address):
<username>@<public-ip-address><username> is the default username for the instance. For Oracle Linux and CentOS images, the default username isopc. For Ubuntu images, the default username isubuntu.<public-ip-address> is your instance public IP address that you retrieved from the Console - Port: 22
- Connection type: SSH
- Host Name (or IP address):
- In the Category pane, expand Window, and then select Translation.
- In the Remote character set drop-down list, select UTF-8. The default locale setting on Linux-based instances is UTF-8, and this configures PuTTY to use the same locale.
- In the Category pane, expand Connection, expand SSH, and then click Auth.
- Click Browse, and then select your .ppk private key file.
- Click Open to start the session.If this is your first time connecting to the instance, you might see a message that the server’s host key is not cached in the registry. Click Yes to continue the connection.
Strange part was I was getting “Connection Timed Out”. Even ping to Public IP was giving connection timed out. Then I validated VCN settings and found there was no Internet Gateway associated with VCN and route tables had no routes defined. Obviously, we will get “Request Timed Out” since there is NO route defined for VCN to connect to Internet and make public IP accessible.
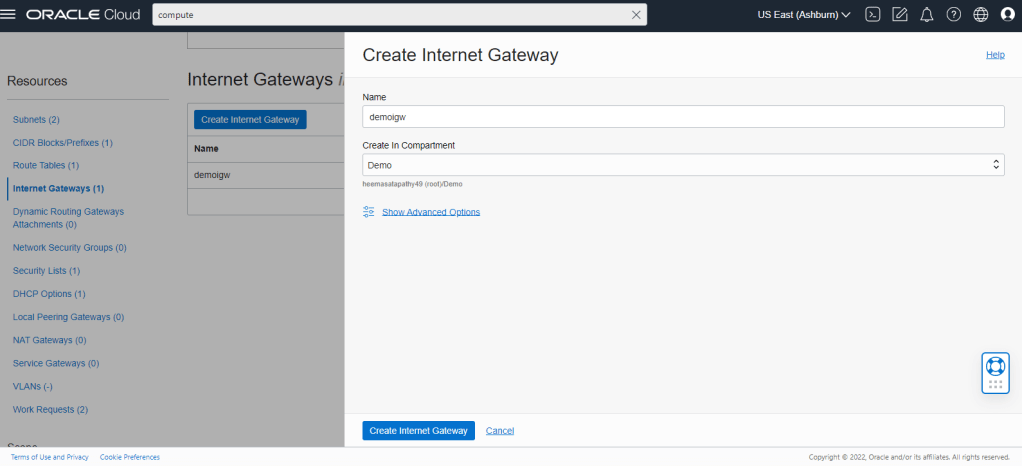
Created Internet Gateway(Do not assign route table here)
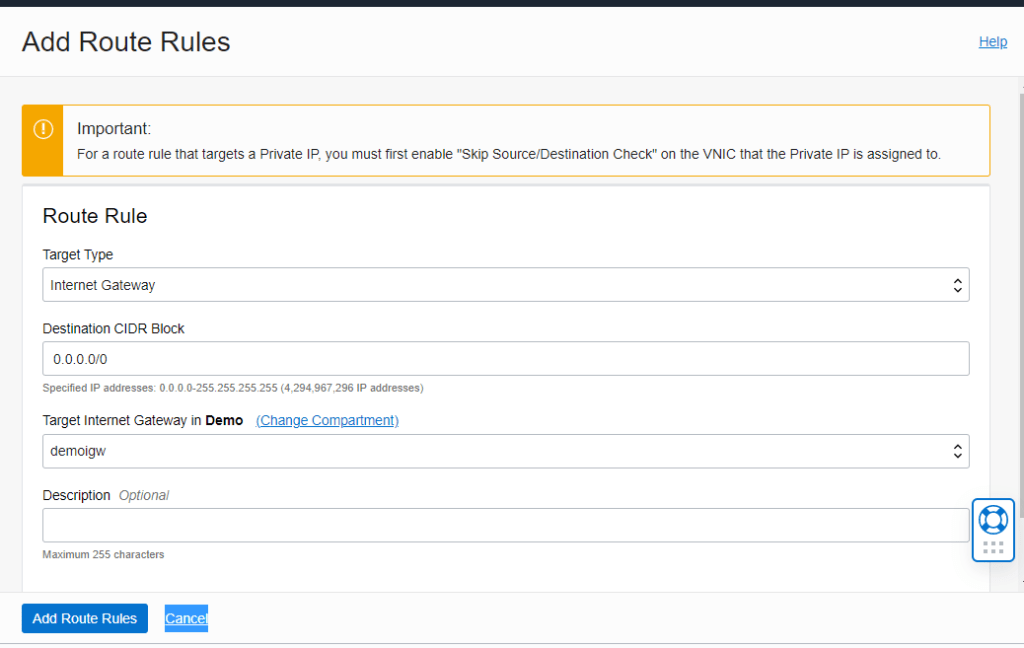
Then edited the route table to create a route from this Internet Gateway to all IPs(0.0.0.0/0)
Now I was able to ssh using Public IP and *.ppk key created by puttygen, using putty
Now I wanted to play around a bit more – hence I will try using the custom security list(created earlier but not attached to any of the subnets),after assigning to one of the subnet(remove default security list) and created another new compute using this subnet. I was able to connect. However, when using the custom route table(already created) and assigning to VCN(removed Internet gateway route rule from default route table and added the same to custom route table), I was unable to connect to compute VM. It means – I need to make my VM use custom route table somewhere. You basically have to edit the subnet definitions like below
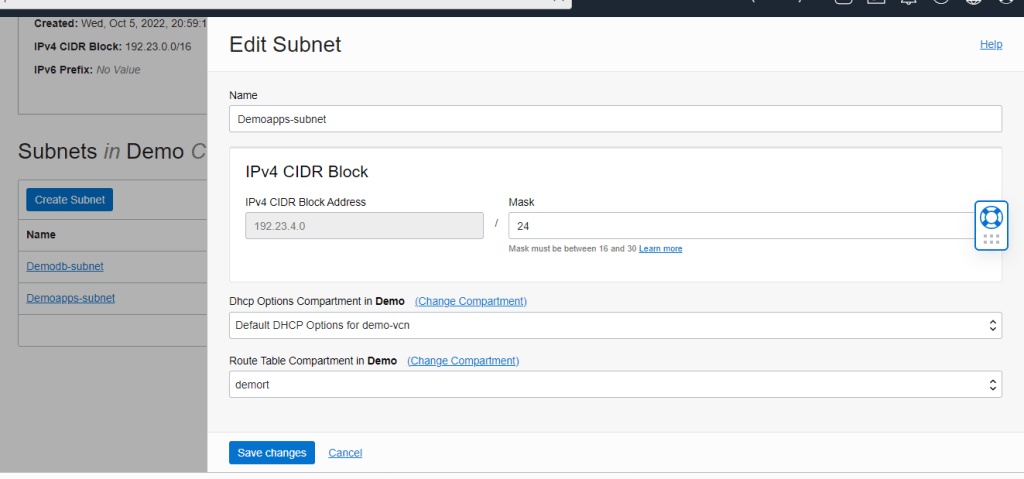
Save the changes. I tried to login and initially I got “connection timed out”, upon validating the subnet I saw there were wrong ICMP entries for custom security list. Please ensure custom security list egress and ingress values are same as in default security list for initial connections and later you can make it more secure specific to IPs for ICMP and SSH connections.
And yes, you can still ONLINE scale up and down CIDR ranges after instances are spun up. It seems during scale down, if IP is assigned you might NOT be able to!!! However, you will get “Invalid CIDR” if a range wont work.
So, both custom security list and custom route table has to be updated at subnet level. Creating a compute instance takes only compartment and vcn and subnet inputs. Go stuff playing to refresh networking basics!!!
Next I will talk about block volumes and FSS, how to attach them to compute instances
